Tuesday, October 29, 2013

Winterizing the garden

As some of you may know, I recently parted ways with my employer and have struck out on my own. It's been really nice from a time perspective, now I have all day to work on the house! (ok, well that and find a new job, but let's be sure we get our priorities straight here). So far I've organized the pantry (who knew we had salad dressing from 2010?), gotten the laundry in order, and been busy getting the garden ready for winter.

If you remember, Matt very nicely cut down all the posts so that they were all the right height. And then I've been spending my afternoons applying the same waterseal that we used on the swing. It doesn't make for a before and after with much wow factor:


Little bit richer color, much better water resistance :). You can also see that I pulled out all the vegetation to prep for next year. We also have plans to mulch the leaves in the yard and add them onto the beds to help replenish the soil, but haven't quite gotten there yet :)

Winter is coming!

When we were fixing the basement last November (I'm almost ashamed to write that being as we didn't get to this project until now) we had to punch a big hole in the foundation to get the largest beam in. We chose this spot because it was the site of what we think was the original coal chute and the foundation was thinner there anyway. In any case, the hole has been there, plugged with towels and insulation, for quite a few months now and with winter coming, we didn't just want to leave it.


So we got our trusty kitty litter box and mixed up some mortar and went to work.


We had most of the stones we took out still in the basement and the first layer went in pretty easy. Matt was in charge of shoveling in the mortar while I fit the stones together and smoothed everything out.


We added some pink plastic insulation to protect the wood beam for the next layer.


And in no time, we were done! We did have to take a short break to mix up another bag of mortar and to scavenge some more rocks from ours and the neighbors yard, but I'm pretty pleased with the result. If you weren't looking for it, you wouldn't' notice at all. 


Then we went outside and patched the rest from there to make it look all pretty and smooth from the outside.


Also looks pretty good, and it dried even lighter. And then Matt had a great idea for the extra mortar. He used it to fill in some of the cracks on the other side of the house where we had some water come in during that 2-3 weeks of torrential rain this summer. (haven't seen any since then, but while we had the mortar out, didn't seem like it could hurt)


And now we're all buttoned up and ready for the storms. Yay!

Our first foray into gutters

I knew summer couldn't last, but those 70 degree October days had me fooled, for a while at least. But the time has come and, while I love a good bout of denial, it won't stop winter from coming. So, we've been trying to button down the hatches a bit here at the house in preparation.

One thing we've been trying to fix, unsucessfully so far, is the leak in our garage. See the "shop" part of the garage was probably an add-on to the original garage. And while we love it for the extra space, we don't love the fact that where the two roofs join there's been a leak we can't seem to fix.


And it all came to a head when that leaky roof leaked on our new table saw, causing it to rust up quite badly. :( (it's ok, we think we can buff it out, but still, sad)


So, since we've tried a number of times to fix the leak by fixing the roof with silicon and all other sorts of leak stopping measures, we finally decided we needed bigger guns. Enter the indoor gutter. Yes, you heard me right, we put a gutter up inside our garage. Overkill? Maybe. White trashy? Maybe a little. But at least the roof doesn't leak on our stuff anymore.

So, decision made, we got going making it as pretty as we could. We went to menards and bought a bunch of bits of gutter and then glued them together one at a time. First we attached the downspout and a bit of extra gutter (since they don't sell 12 foot stretches and even if they did we couldn't fit it in the truck)


And here's the complete gutter. Then we just had to attach it to the garage wall.


The problem there is that unlike other parts of the roof, there wasn't really anything to attach it to. So we sort of created one by attaching the gutter to a 2x4 (above) and then putting up some more 2x4s along the overhang to support the gutter.


And voila! we have a gutter. Then the only part left was to rig up the downspout.


Now since this gutter would be draining inside the garage, we had to figure out a way to collect the water. So we ran the downspout down a wall and into a trashcan.


Works like a charm :)


Now, we still have a small problem with the roof leaking in over by where the downspout is, but that runs down the wall and won't get on much but the wall. A problem for another day, for sure, but at least our stuff is now protected. 

Sunday, September 29, 2013

Our garage finally gets an A

For it's grading that is! Matt and I have been working on the grading project for a while now (in the midst of him finishing up a paper and my new job search) and are happy to say we've finally finished a project! (well, mostly, sort of, you know... it's really never done, but this one is at least at a good stop point). When we left off last we were putting up the painted, pressure-treated 2x12s. Here's what's happened since then:

Our neighbor Mike, got a bunch of rock


And then helped us fill the ditch we made with it.


Matt helped direct because apparently it's really hard to see where you are dumping stuff when you are driving one of these things.


Yay rock! And a big thanks to our neighbor Mike for helping us out. Whhile he was at it he also smoothed out the yard between our garage and his driveway, making it nice an level, and reseeded it so that it would grow grass.


Now, while we were really happy with the rock, Matt was worried, and I agreed, that it would be hard to mow around and eventually would get everywhere without something to hold it back. Enter black plastic landscape borders. Now, usually, we don't really like this stuff, because it seems to always turn out all wibbly and uproot, but since it's the side of the garage and we really didn't want to buy or lay stone borders, we took a chance. We opted for two 40ft rolls. The packaging suggested laying it out in the sun to warm so that it was easier to roll out, but since it was a cold day, we put it on the sun porch instead with all the windows closed and stretched it between a couple chairs.


While that was warming up, we dug the trench to put it into. We tried about 3-4 different technique and figured out that the best one was for Matt to go through with the breaker bar (not pictured but it looks like a 7 ft nail, very heavy, used for all sorts of breaking stuff as the name suggests) and for me to follow with a hand trowel. We also did a bit of re-re grading to build up some of the low spots that Mike's grading had missed (he got us 95% of the way there, but it's hard to be exact with construction equipment).


Once the trench was dug we laid down the border and then drove in the plastic spikes that hold in in place. After that, we filled in the dirt and Matt did a lot of heavy tamping to make the plastic bend to our will and into a straight line.


Next we filled in more rock since we had put the plastic farther out than we were originally thinking. Good action shot of Matt, don't you think?


And then Matt went through with a rake to make sure all the rock was level and smooth.


And Voila! Looks so much better than before!


Here's a before shot, just so you can compare:


Monday, August 26, 2013

More work on the garage and what I've been up to in the kitchen

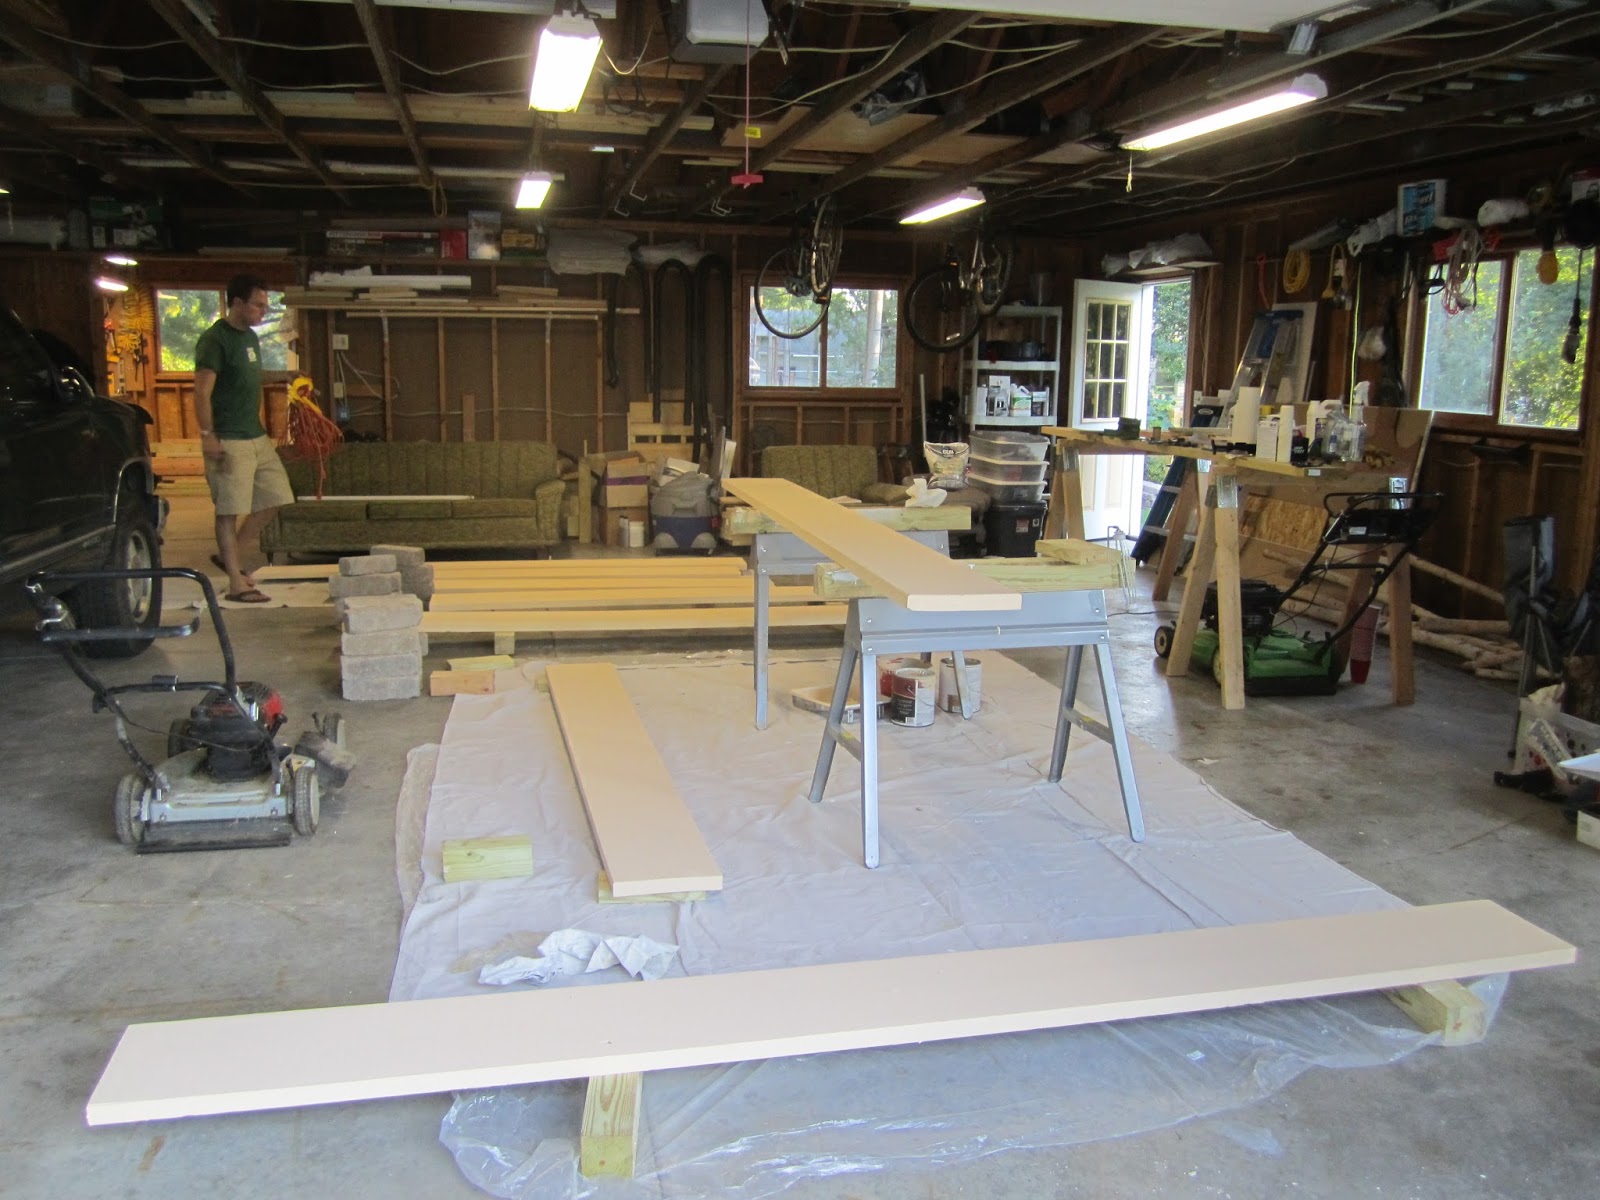
This weekend Matt and I put our heads together and really got moving on the garage. As you may remember, we are regrading the side next to our neighbor, Mike, because, well, it's currently graded really stupidly (i.e. so the water runs into the garage). Matt's been busy already painting the boards and this weekend we started to put them up.

Here's the first board going up:


And a close up of the mitre cut corner (this was necessary, as you will see later, to putting the aluminum corners back up over the new board)


From the first board, we just kept working our way down. The real challenge was hitting the studs from the outside. Since the end of the garage outside and the inside of the garage don't exactly line up, we had to drill a couple of holes through the walls and do some hard thinking (and math) to figure out where exactly to drill. After a couple missteps on the first board, I'm proud to say we hit every stud after that. 


Here's the last board we put up over the weekend, the small corner pice between the garage proper and the workshop (which we think was added on at some point)


Then Matt went back and caulked the top, to keep water from wicking down the seam.


Doesn't the corner look great?


After that he wood puttied the holes and the next day (today) he came back to sand them down.


And put up the aluminum corners that those mitre cuts were so key for:


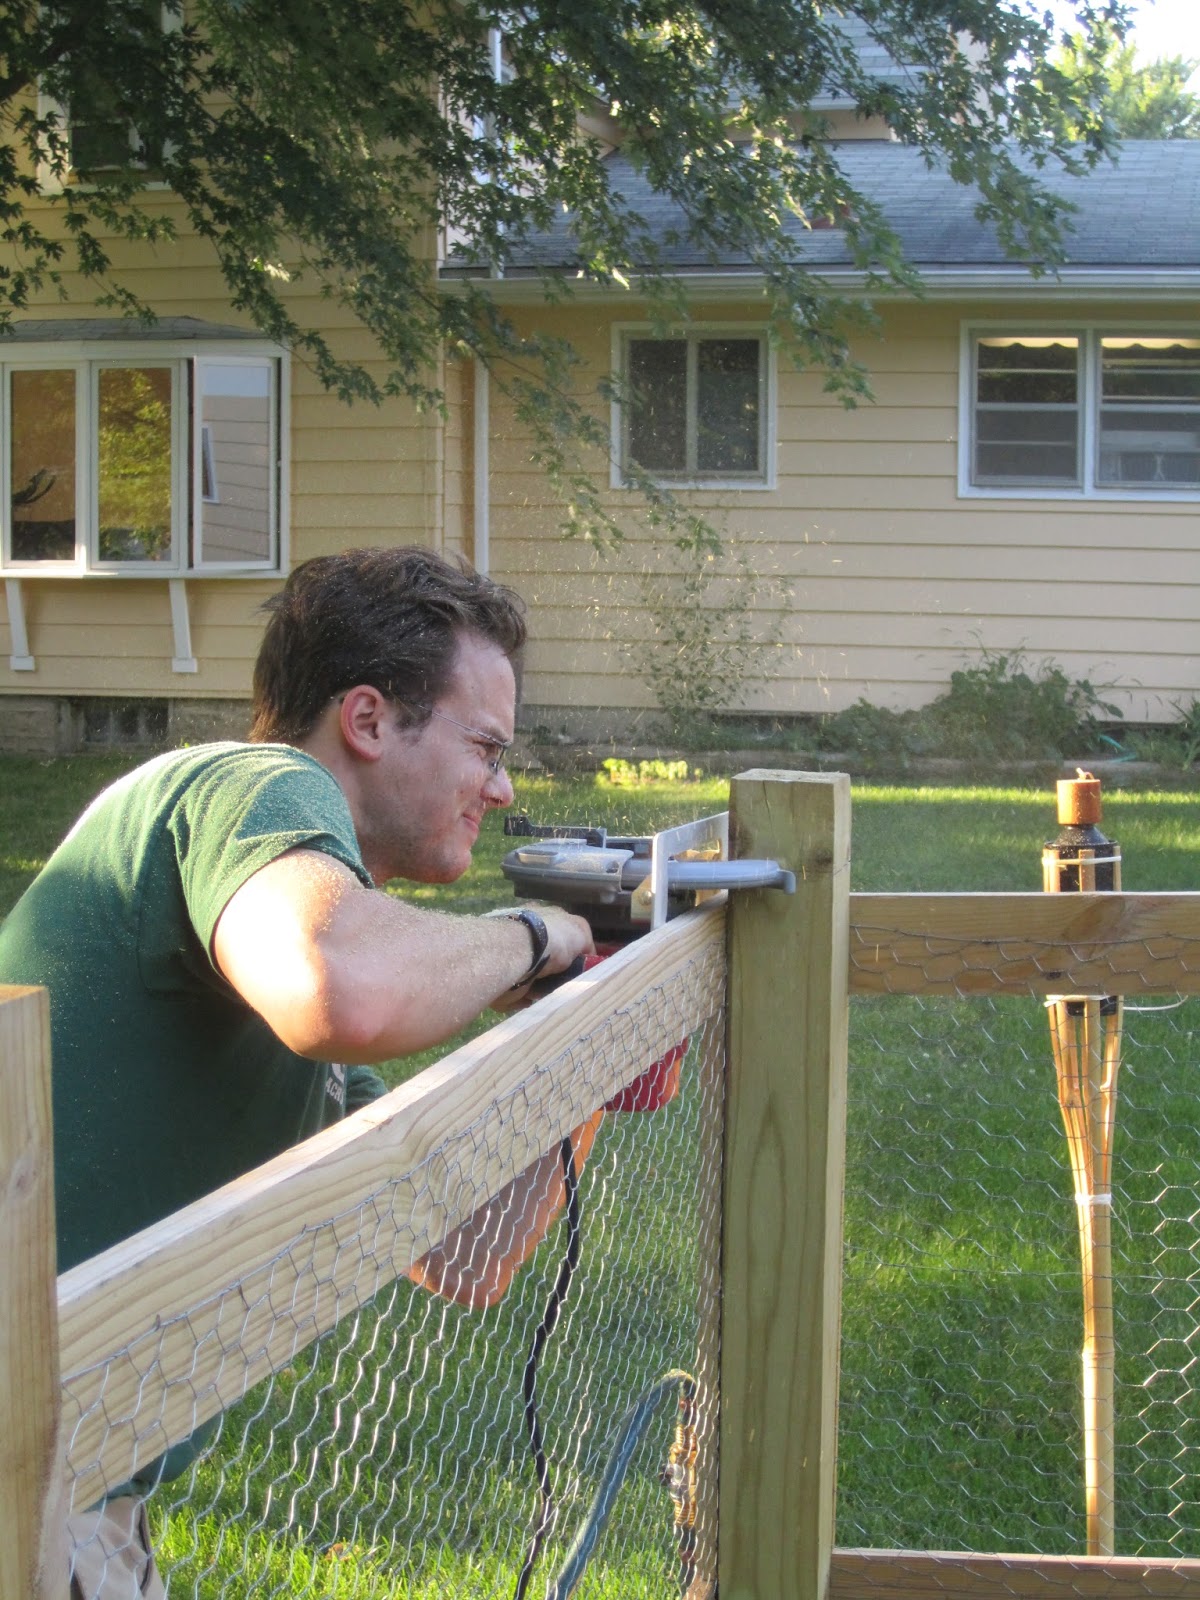
He also painted, but it got too dark to take a picture once he was done, so you'll have to enjoy this action shot of him getting started and I'll post a finished product pic soon, I promise.


And what was I up to while Matt was finishing up sanding and painting (I helped put the boards up, don't you worry). Why, I was in the kitchen, of course. Testing out my new toy, a vegetable and fruit strainer attachment for the KitchenAid. Now, you might wonder why this purchase was made, since Matt and I are pinching pennies a bit here. Well, I had been peeling and coring the apples by hand, and actually I made three batches of apple butter that way. Then, this weekend, Matt offered to help. And at about the second apple, he asked "Isn't there a better way?" To which I replied that this food strainer would allow us to cut out the peeling and coring process and voila, three days later, here it is.


 I gotta say, its pretty great. No peeling, no coring, and not only did I make apple sauce tonight, I also took some of our first tomatoes and made tomato sauce. Turned out pretty great despite the fact that beefsteak tomatoes aren't really the ideal tomato for sauce.

 As a recap, so far this season I've made and canned (from the left) apple sauce, apple butter, caramel sauce, and pickles. Ok, so the caramel sauce did not come from the garden, but I did make it to dip apples in and it turned out AMAZING. Its a little intense to make, but with only four ingredients, not very complicated and I would certainly make it again.


Next culinary adventure? Tomato sauce, and lots of it given the 8 bursting tomato plants in our garden. 

Monday, August 19, 2013

garden and garage and swing

In keeping with our "do one thing each day theme" we did a couple little things each day this weekend. First, Matt painted the boards for the garage grading project that is in the works (don't you just loooove that peach color? Full disclosure, I don't but I don't dislike it enough to paint the entire house right now).


Next, Matt tackled the posts in the garden. If you remember, when we sunk them they ended up being differnet heights (which we expected, with the plan that we would cut them down later). Well, later is now and he got through 5 of them.

Here's an in process shot:


Before (notice the really tall pole second from the left):
And after!


Next we turned our attention to our lovely swing. Because we adore it and want it to be around forever, we want to be sure we are protecting it. Enter Thomson's Waterseal to help keep the water and the mildew out and the wood looking lovely. Before we did this I did some prep work last weekend to bleach out any of the mildew that had formed already and then gave it a good sand this weekend to make sure everything was nice and smooth.

 Here's a before

Matt getting the top


Halfway through (you can really see the difference here)


And after

We'll have to do this every year going forward to protect it from the wind and weather, but it'll be well worth it to keep it around and in mint condition through the lovely Wisconsin winters.