So our poor little subaru has been struggling for some time. Its been complaining, and groaning, and finally we decided to give it a little TLC. So Matt took it to our good friend Doug at Foreign Car (on Regent, they are amazing) and he infomed us that in addition to needing a new tire and an alignment, the front right axle had given its last. So, we bought a new one and Matt went to work. While I was out Friday he disassembled pretty much all of it. You can see the shiny new one on the left and the crummy old one on the right.

Here Matt is working away.

We also got a new ball joint (since in taking the axle off you pretty much always damage the ball joint. We even went to harbor freight and got a kit to do it, but then Matt came up with the great idea to use a pitman arm puller and pickle fork (just fyi, he had to say these words like three times before I got them right for this post). In any case, with a little bit of leverage, it popped right out and he was able to put in a shiny new one.


We also worked on the garden. Earlier this week we started getting the second bed filled in. Like the first, this involved layering the soil and the compost, over and over and over. Here's and action shot of Matt throwing some compost around.


We left off a little above ground level and took a little time out to finish up the fence (also at night during the week)
And I finished up the side bed and planted some tomatoes there.

Then, once the weekend rolled around, we headed out to menards to get some more wood for the fence. While we were there, we also decided to buy some plain pine to make boxes for the beds. We were thinking this would be an activity we would wait to do, but digging the bed during the week made it clear that putting the boxes up before building the bed above the ground would make it a lot easier to build the bed. So, while Matt was working on the car I cut up some 4x4s with our new circular saw. Then I cut the 12" boards to the right lenght and we assembled them
Like this:

And this:

Here it is over the existing bed

And here are the finished beds ( we filled in the second one and topped the first one off around the edges)


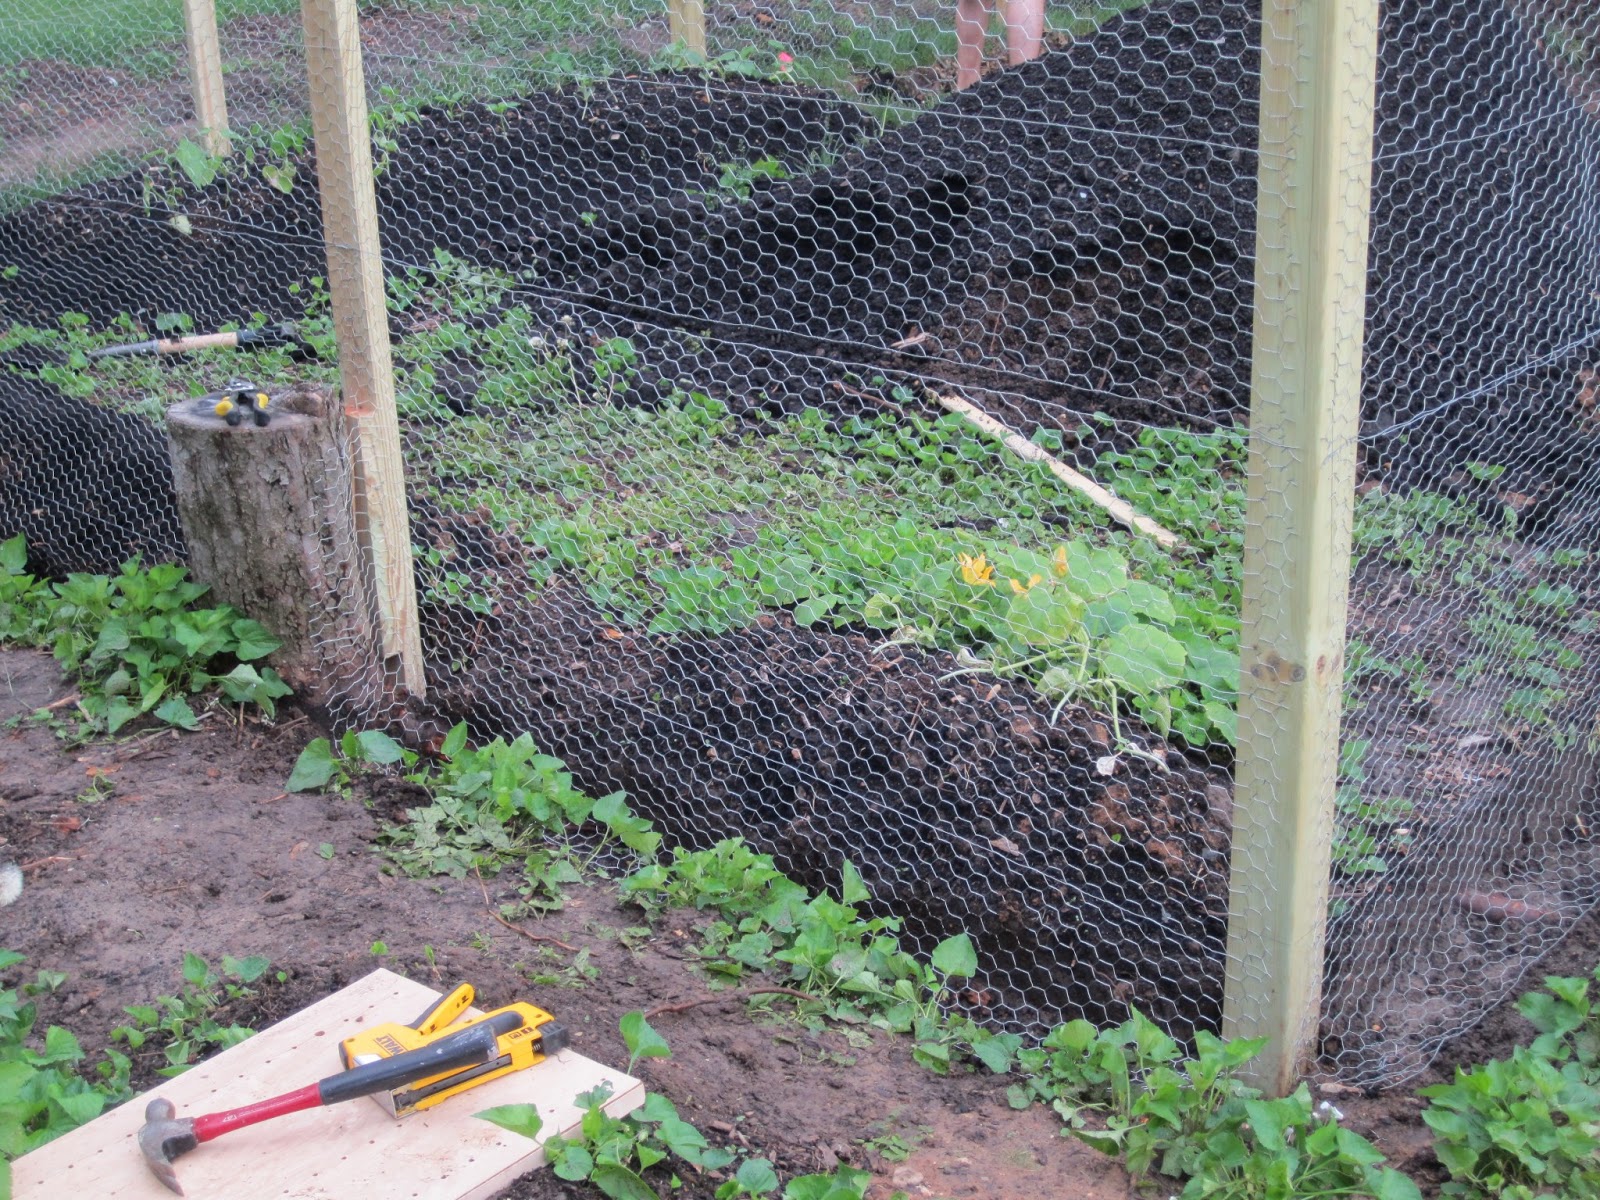
Finally, we put up the horizontal pieces on one of the sides. If you look closely, you can see that we also put face plates on the posts so that you can't see where we stapled everything together. Looks pretty good if I do say so myself.

Granted, we still have a gaping hole where the gate will go, but for now the left over piece of drywall covering it will do. We're getting there, slowly but surely.
No comments:
Post a Comment